
If you’ve ever needed to change your Wi-Fi password, block a device from your network, or just figure out why your internet is acting up — 192.168.1.1 is the address you need. I’ve walked a lot of people through this process, and I can tell you: it’s a lot simpler than it looks. This guide covers everything from logging in on your phone or computer, to fixing it when the page won’t load, to locking down your network once you’re inside.
What Is 192.168.1.1?
192.168.1.1 is the default gateway IP address used by millions of home routers in the US. It’s how your devices — your laptop, your phone, your smart TV — communicate with the router that connects them to the internet.
Here’s the thing most people don’t realize: 192.168.1.1 isn’t a website. It’s a private IP address that only exists on your local home network. Type it into a browser, and you’re not going to the internet — you’re talking directly to your router. That’s why it only works when you’re connected to your home Wi-Fi or plugged in with an Ethernet cable.
The address falls within the private IP ranges defined by RFC 1918 — a set of address ranges specifically reserved for private networks and never used on the public internet. The 192.168.x.x block is the most familiar of these, covering home and small business networks worldwide.
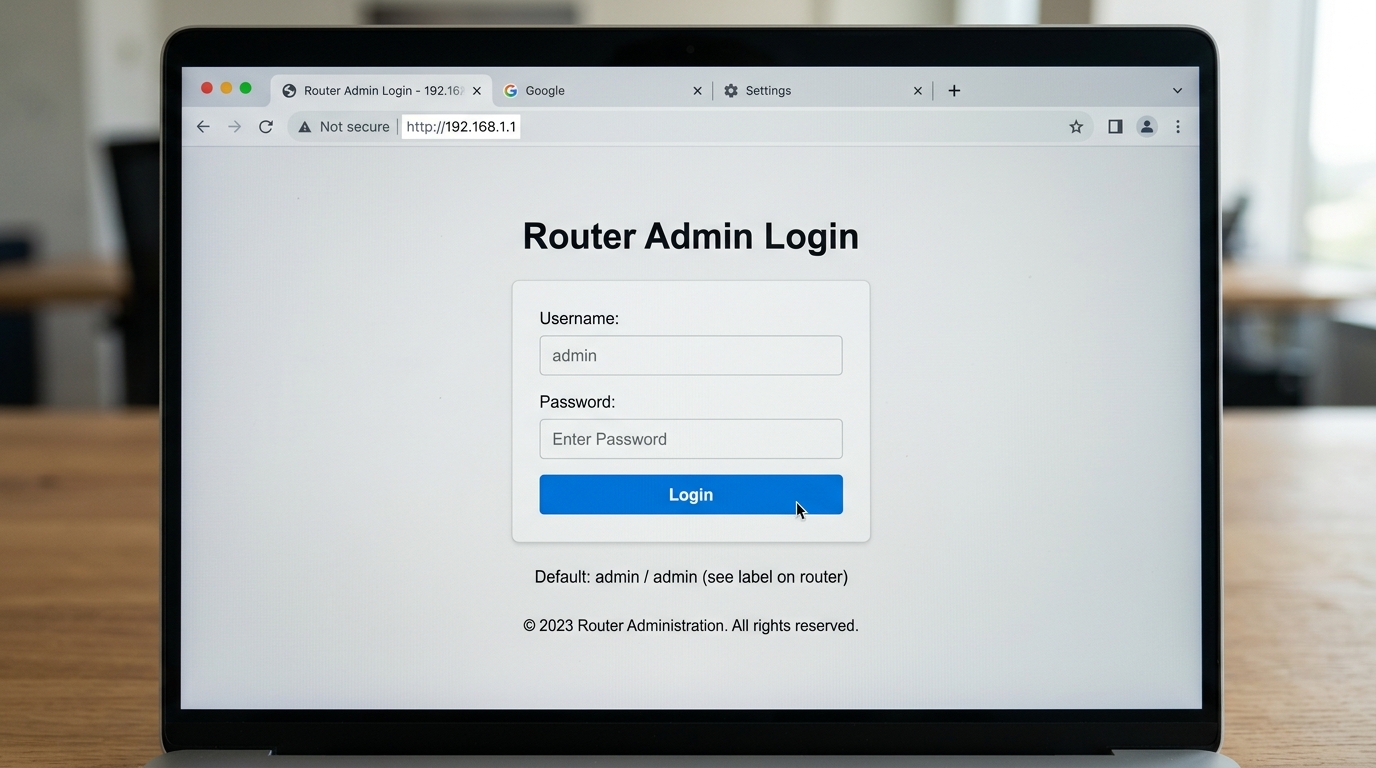
When you type 192.168.1.1 into your browser, you get a login page — sometimes called the admin panel or admin console. That’s where you control everything about your network: the Wi-Fi name and password, who’s connected, security settings, parental controls, port forwarding, and firmware updates.
Default Username and Password for 192.168.1.1
Before you can do anything in the admin panel, you need to log in. Most routers ship with factory-set credentials. If you’ve never changed yours, one of the entries in this table should work. That said — the most reliable source is always the sticker on the back or bottom of your router. Manufacturers print the exact defaults right there.
| Brand | Default Username | Default Password |
|---|---|---|
| TP-Link | admin | admin |
| Asus | admin | admin |
| Linksys | admin | admin |
| Cisco | cisco | cisco |
| Tenda | admin | admin |
| Huawei | admin | admin |
| Belkin | (blank) | (blank) |
| D-Link | admin | (blank) |
| Netgear | admin | password |
| ZTE | admin | admin |
How to Log In to 192.168.1.1 on a Computer
These steps work on Windows and Mac, and in any browser — Chrome, Firefox, Edge, Safari, it doesn’t matter.
- Make sure your computer is connected to your home Wi-Fi, or plugged in with an Ethernet cable.
- Open any browser.
- Click into the address bar at the very top of the browser window. This is the bar that normally shows the website URL — not the Google search bar in the middle of the screen.
- Type
192.168.1.1and press Enter. - The router login page will appear. Enter your username and password.
- Click Login (or Sign In — the button label varies by brand).
- You’re in. The admin dashboard will load.
How to Log In to 192.168.1.1 on iPhone
Competitors rarely cover mobile login separately. Here’s exactly how to do it on iPhone:
- Go to Settings → Wi-Fi and make sure you’re connected to your home network. Mobile data won’t work for this.
- Tap the (i) icon next to your network name to confirm your router IP — look for the Router field.
- Open Safari (or Chrome).
- Tap the address bar at the top and type
192.168.1.1. - Tap Go on the keyboard.
- The login page will load. Enter your username and password.
- Tap Login.
If the page loads but looks oddly formatted, try rotating your phone to landscape mode — some older router admin panels weren’t designed for mobile screens.
How to Log In to 192.168.1.1 on Android
- Go to Settings → Network & Internet → Wi-Fi and connect to your home network. Turn off mobile data if it keeps interfering.
- Tap your network name → Advanced → look for Gateway to confirm your router IP.
- Open Chrome or any browser.
- Tap the address bar and type
192.168.1.1. - Tap the arrow or press Go.
- Enter your credentials and tap Login.
Troubleshooting: When 192.168.1.1 Won’t Work
Don’t panic — login problems are almost always one of five things.
Problem 1: 192.168.1.1 Login Page Not Loading
Cause: You’re either not connected to the correct Wi-Fi network, or you’ve entered the IP address in the search bar instead of the browser address bar.
Fix: Make sure you’re connected to your home router network (not mobile data or hotspot). Then type 192.168.1.1 directly into the browser address bar. If it still doesn’t load, try http://192.168.1.1 since some browsers force HTTPS, which may block router access.
Problem 2: 192.168.1.1 Wrong Username or Password
Cause: The router admin login credentials were changed from the default values.
Fix: Try common default combinations: admin / admin, admin / password, or admin / (blank). If none work, check the label on your router. If you still can’t log in, resetting the router is required.
Problem 3: 192.168.1.1 Not Your Router IP Address
Cause: Not all routers use 192.168.1.1 as their default gateway. Some use 10.0.0.1, 192.168.1.254, or 192.168.0.1.
Fix: Find your router’s Default Gateway:
Windows: Win + R → type cmd → run ipconfig
Mac: System Settings → Network → Wi-Fi → Details
iPhone: Settings → Wi-Fi → (i) → Router
Android: Settings → Wi-Fi → Network → Advanced → Gateway
Use that IP address to access your router login page.
Problem 4: Router Login Page Keeps Rejecting Credentials
Cause: The router admin password has been changed during setup or by another user.
Fix: Perform a factory reset by holding the reset button for 10–30 seconds. This restores default login credentials. Be aware that your Wi-Fi name and password will also be reset.
Problem 5: 192.168.1.1 Page Showing Blank or Broken
Cause: Browser extensions or compatibility issues may block the router admin interface.
Fix: Open the router login page in Incognito or Private mode. If it works, disable extensions like ad blockers. You can also try another browser — Chrome usually works best for router login access.
Factory Reset Guide for 192.168.1.1 Routers
If you’re locked out and no credentials work, a factory reset gets you back in. Fair warning: this wipes everything — your Wi-Fi name, password, port forwarding rules, parental controls, all of it. If your router has a Backup or Export Settings option in the admin panel, use it before resetting.
How to reset:
- Make sure the router is powered on.
- Find the reset button — it’s usually a small pinhole on the back labeled RESET.
- Use a paperclip, SIM ejector, or a thin pin to press and hold it.
- Hold it for the time listed for your brand (see table below).
- Release when the lights flash or the router restarts.
- Wait 1–2 minutes for the router to fully reboot.
- Log in with the original default credentials from the sticker on the back.
| Brand | Hold Time | Indicator |
|---|---|---|
| TP-Link | 10 seconds | Power LED blinks |
| Asus | 10 seconds | Power LED turns off then on |
| Linksys | 10–15 seconds | All lights flash |
| Cisco | 10–15 seconds | All lights flash |
| Tenda | 8 seconds | LED indicator flashes |
| Belkin | 15 seconds | Lights cycle |
| Huawei | 10 seconds | Lights restart |
After the reset, you’ll need to reconnect all your devices to Wi-Fi using the original Wi-Fi name and password from the label.
What to Do After You Log In
Getting in is just step one. Here’s what actually matters once you’re inside — in order of importance.
1. Change the Admin Password
This is the single most important thing you can do. Default admin passwords are publicly documented — anyone on your network can look them up and log into your router. Go to Administration → Set Password (or similar — it varies by brand). Pick something at least 12 characters long. Write it down somewhere you won’t lose it.
Here’s a step-by-step for TP-Link (most other brands follow the same path):
- Log into 192.168.1.1.
- Go to System Tools (or Advanced) → Administration.
- Click Set Password or Change Password.
- Enter the old password, then your new password twice.
- Click Save.
2. Change Your Wi-Fi Password
Go to Wireless → Wireless Security (or Wireless Settings). Find the Password or Pre-Shared Key field and replace it with something strong. After saving, all your devices will disconnect until you reconnect them with the new password. Our guest network is literally called “GuestWiFi” — simple works fine.
3. Set Security Mode to WPA2 or WPA3
While you’re in the Wireless Security section, check your Security Mode or Authentication Type. If it says WEP or WPA (without the 2 or 3), your network can be cracked with freely available tools. Switch it to WPA2-PSK (AES) at minimum. If your router supports WPA3, use that — it’s the current standard according to the Wi-Fi Alliance’s official WPA3 overview.
4. Check Which Devices Are Connected
Go to DHCP → DHCP Client List or Status → Connected Devices. You’ll see a list of every device on your network — usually showing the device name and MAC address. If you see something unfamiliar, you can block it from the admin panel. Most people are surprised how many devices show up — smart TVs, old phones, tablets, speakers all get listed.
5. Set Up a Guest Network
A guest network lets visitors use your internet without getting access to your main network — and the devices on it. Go to Wireless → Guest Network (available on most TP-Link, Asus, and Linksys models). Enable it, give it its own name and password, and turn off the option that lets guest devices see the main network.
6. Enable Port Forwarding (If You Need It)
If you’re running a game server, hosting a website from home, or using remote desktop software, you’ll need port forwarding. Go to Forwarding → Virtual Servers (TP-Link) or WAN → Port Forwarding (Asus). It’s worth reading up on how port forwarding works before you start — wrong settings can expose your network unnecessarily.
7. Update the Firmware
Most people never update their router’s firmware. This is a real problem — firmware updates patch security vulnerabilities, fix bugs, and sometimes improve performance. Go to System Tools → Firmware Upgrade or Administration → Firmware Update. If your router shows an auto-update option, turn it on.
Common Misspellings of 192.168.1.1
These are the typos that will land you on an error page or a scam site. Make sure you’re entering the real address: