I’ve spent a lot of time helping people sort out home network problems, and 192.168.2.2 is one of those addresses that generates a surprising amount of confusion. It’s close to the more common 192.168.2.1 and 192.168.1.1, but it’s not the same thing — and depending on how your network is set up, it can mean a few different things. This guide explains exactly what 192.168.2.2 is, which devices use it as a login address, how to get in on a PC or phone, what to do when it won’t load, and what settings to actually change once you’re inside.
192.168.2.2 – Router Login Admin Page
What Is 192.168.2.2?
192.168.2.2 is a private IP address in the 192.168.x.x range — one of the three private IP blocks defined by RFC 1918 private address ranges for use on internal networks only. Like all private IPs, it’s invisible to the public internet. Nobody outside your home can reach it, and it only works when you’re connected to your local network via Wi-Fi or an Ethernet cable.
Here’s the thing about 192.168.2.2 specifically: it sits one step above 192.168.2.1, which is the well-known default gateway for Belkin and SMC routers. That relationship matters. On most Belkin networks, 192.168.2.1 is the router, and 192.168.2.2 would normally be the first client device the router assigns via DHCP. But in several specific scenarios, 192.168.2.2 is itself a router or admin login address:
- Certain Belkin models (particularly older F5D-series units) use 192.168.2.2 as their default gateway instead of .2.1.
- Apple AirPort and Time Capsule devices placed in bridge or relay mode behind a Belkin router sometimes land on 192.168.2.2.
- Cascaded or double-NAT setups — where a second router is connected behind a primary one — sometimes result in the secondary router’s admin panel being accessible at 192.168.2.2.
- Some SMC Barricade models use .2.2 rather than .2.1 depending on firmware version.
Most people don’t realize this distinction matters — they just know something in their network is at 192.168.2.2 and they need to get into it. This guide covers all those scenarios.
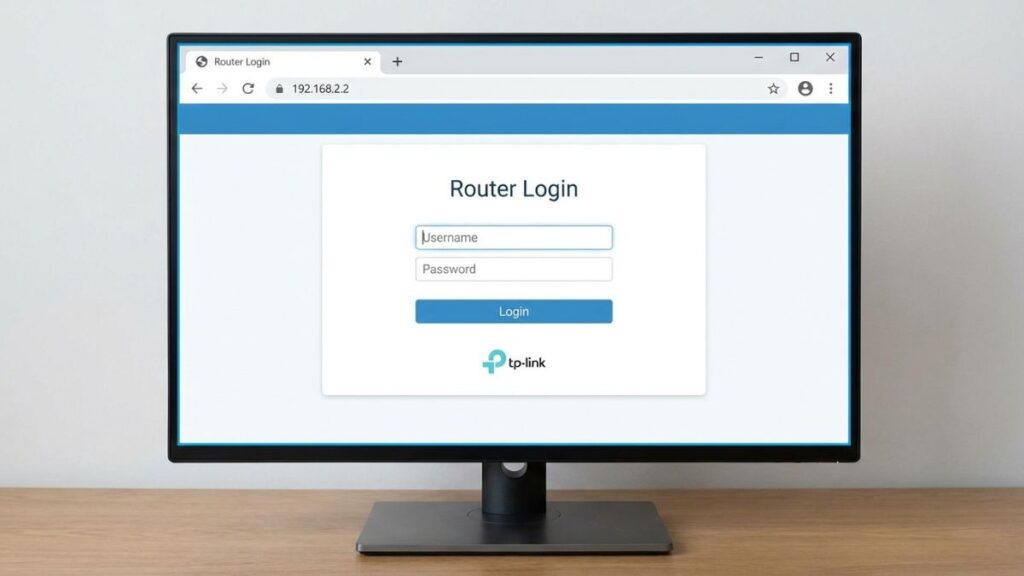
Default Login Credentials for 192.168.2.2
The label on the back or bottom of your device is always the most reliable source. That said, here are the known default credentials for brands and models that use 192.168.2.2 as their admin address:
| Brand / Model | Default Username | Default Password |
|---|---|---|
| Belkin F5D series (older) | admin | (blank — leave empty) |
| Belkin (newer models) | admin | admin |
| SMC Barricade (select models) | admin | smcadmin |
| SMC Barricade (alternate) | admin | admin |
| Apple AirPort / Time Capsule | (none) | (set during setup) |
| Cisco (select SOHO models) | admin | admin |
| Netgear (cascaded/secondary) | admin | password |
| D-Link (secondary router) | admin | (blank) |
| Linksys (cascaded setup) | admin | admin |
| Tenda | admin | admin |
| Generic fallback | admin | admin |
A word on Belkin: many older Belkin models ship with no admin password. If you’re on a Belkin unit, try leaving the password field completely empty and clicking Login. It’s not broken — that’s genuinely how they came out of the box. Change it the moment you get in.
For Apple AirPort devices, there’s no traditional username/password login via a browser. Those are managed through the AirPort Utility app on Mac or iOS instead of a web interface. If you’re trying to access an AirPort, skip to the FAQ at the bottom of this guide.
How to Log In on a PC or Laptop
- Connect your computer to the router or device at 192.168.2.2 — either over Wi-Fi or via an Ethernet cable plugged directly into one of its LAN ports.
- Open any web browser: Chrome, Firefox, Edge, or Safari all work.
- Click into the address bar — the long bar at the very top of the browser window that shows the current webpage URL. Not the search bar on a new tab page. The actual URL bar at the top.
- Type
http://192.168.2.2and press Enter. - A login screen should load. Enter your username and password from the table above or from your device’s label.
- Click Login, Sign In, or Submit — the button label varies by device.
⚠️ This is the most common mistake: Typing 192.168.2.2 into a Google search bar or the Bing box sends it to a search engine, not to your router. The address bar — the URL bar at the very top of the browser — is where you need to type it. If you see Google results, you typed it in the wrong place.
If the browser shows “This site can’t be reached,” “ERR_CONNECTION_REFUSED,” or just spins forever, don’t give up yet. The Troubleshooting section below covers the most likely reasons, most of which are quick to fix.
How to Log In on Your Phone
Competitors almost never break this out by platform. Here are the actual steps, because iPhone and Android behave differently enough to warrant separate instructions.
iPhone (Safari)
- Open Settings → Wi-Fi and confirm you’re connected to your home or office network — not mobile data. Tap the network name and check for the checkmark and a visible IP address in the details.
- Open Safari.
- Tap the address bar at the top of the screen. If a URL is already there, tap once to select it.
- Type
http://192.168.2.2and tap Go on the keyboard. - The login page should load. Enter your credentials and tap the login button.
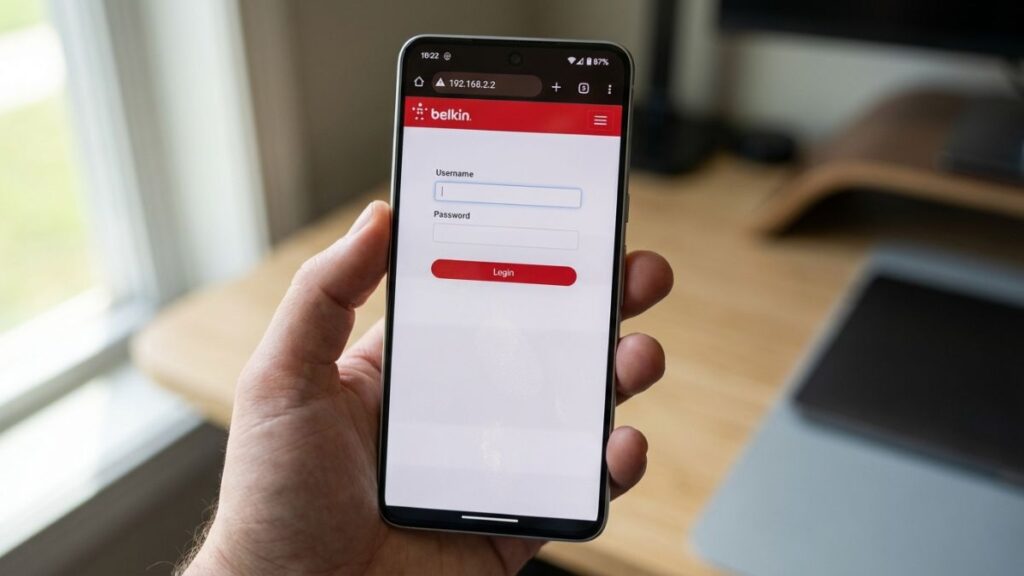
💡 Tip: Safari sometimes interprets a bare IP address as a search query. Including the full http:// prefix tells Safari it’s a direct address, not something to look up. If you still get search results, try tapping the address bar, typing the IP, and then tapping the “Go to 192.168.2.2” suggestion that appears above the keyboard rather than pressing the regular search button.
Android (Chrome)
- Swipe down from the top and confirm Wi-Fi is on. Tap and hold the Wi-Fi icon if you want to verify which network you’re connected to. Make sure it’s not mobile data — local IPs don’t work on cellular.
- Open Chrome (or your default browser).
- Tap the address bar at the top of the screen.
- Type
http://192.168.2.2and tap Go or the Enter key on your keyboard. - The router’s login page should appear. Enter your credentials.
💡 Android tip: On some Android versions, Chrome will drop the http:// and treat the entry as a search. If that happens, try appending a forward slash — http://192.168.2.2/ — the trailing slash tends to force Chrome into treating it as a URL. You can also tap the address bar, type the IP, and look for a “Navigate to 192.168.2.2” autocomplete suggestion below the bar; tap that directly.
Troubleshooting: 5 Problems and How to Fix Them
1. The Page Won’t Load At All
Cause: You’re either on the wrong network, 192.168.2.2 isn’t your device’s actual gateway address, or the device at that IP simply doesn’t have a web-based admin interface.
Fix: First, verify your Default Gateway. Windows, open Command Prompt and run ipconfig — look for “Default Gateway” under your active network adapter. On Mac, go to System Preferences → Network → select your connection → look for “Router.” On iPhone, go to Settings → Wi-Fi → tap your network name → look for the “Router” field. If it shows 192.168.2.1 (not .2.2), that’s your router’s admin address — try that instead. If it shows something completely different like 192.168.1.1 or 10.0.0.1, use that. Also remember: if you’re trying to access an Apple AirPort, those don’t use a browser-based interface at all — you need the AirPort Utility app.
Fix: First, verify your Default Gateway. Windows, open Command Prompt and run ipconfig — look for “Default Gateway” under your active network adapter. On Mac, go to System Preferences → Network → select your connection → look for “Router.” On iPhone, go to Settings → Wi-Fi → tap your network name → look for the “Router” field. If it shows 192.168.2.1 (not .2.2), that’s your router’s admin address — try that instead. If it shows something completely different like 192.168.1.1 or 10.0.0.1, use that. Also remember: if you’re trying to access an Apple AirPort, those don’t use a browser-based interface at all — you need the AirPort Utility app.
2. The Login Page Loads But Your Credentials Don’t Work
Cause: The default password was changed at some point — possibly by an ISP technician, a previous occupant, or a family member — or you’re using the wrong credential pair for your specific model.
Fix: Work through the credentials table above systematically. For any Belkin device, absolutely try leaving the password field completely blank before assuming you’re locked out. Also double-check: are you entering the admin password or your Wi-Fi password? They’re completely separate things, and using the Wi-Fi password in the admin login field is one of the most common reasons people think they’re locked out when they’re not. If nothing works, the factory reset section below is your way back in.
Fix: Work through the credentials table above systematically. For any Belkin device, absolutely try leaving the password field completely blank before assuming you’re locked out. Also double-check: are you entering the admin password or your Wi-Fi password? They’re completely separate things, and using the Wi-Fi password in the admin login field is one of the most common reasons people think they’re locked out when they’re not. If nothing works, the factory reset section below is your way back in.
3. The Admin Page Loads But Looks Broken or Blank
Cause: A browser compatibility issue with the router’s admin interface, or a cached/corrupted version of the page being served from your browser’s memory. Older Belkin and SMC interfaces were designed for much older browsers.
Fix: Try a hard refresh: Ctrl+F5 on Windows, Cmd+Shift+R on Mac. If that doesn’t help, switch browsers entirely. Older router UIs sometimes render correctly only in Firefox, or in Edge using its Internet Explorer compatibility mode (go to Settings → Default browser → Internet Explorer compatibility). Disabling all browser extensions temporarily — especially ad blockers — can also resolve this, since some privacy tools mistakenly block local network pages.
Fix: Try a hard refresh: Ctrl+F5 on Windows, Cmd+Shift+R on Mac. If that doesn’t help, switch browsers entirely. Older router UIs sometimes render correctly only in Firefox, or in Edge using its Internet Explorer compatibility mode (go to Settings → Default browser → Internet Explorer compatibility). Disabling all browser extensions temporarily — especially ad blockers — can also resolve this, since some privacy tools mistakenly block local network pages.
4. You Can Reach the Admin Page But the Internet Is Down
Cause: The admin panel at 192.168.2.2 lives entirely on your local network. It doesn’t need internet to work — and it also doesn’t tell you whether internet is working. These are independent systems.
Fix: Inside the admin panel, navigate to WAN Status, Internet Status, or Connection Status. This page shows whether your upstream ISP connection is active and should display a public IP address if connected. If it shows “Disconnected” or “No IP,” restart your modem (power off, wait 30 seconds, power back on) and then restart your router. If the WAN connection stays down after both restarts, call your ISP — the issue is likely on their side.
Fix: Inside the admin panel, navigate to WAN Status, Internet Status, or Connection Status. This page shows whether your upstream ISP connection is active and should display a public IP address if connected. If it shows “Disconnected” or “No IP,” restart your modem (power off, wait 30 seconds, power back on) and then restart your router. If the WAN connection stays down after both restarts, call your ISP — the issue is likely on their side.
5. You Log In Successfully But Get Kicked Back to the Login Screen Immediately
Cause: A stale session cookie in your browser is fighting with the router’s auth system. This happens more often than you’d expect after router reboots or firmware updates.
Fix: Open an incognito or private window in your browser (Ctrl+Shift+N in Chrome, Cmd+Shift+N on Mac) and navigate to http://192.168.2.2 from there. Incognito windows don’t carry over existing cookies, giving you a clean session. If that works, go back to your regular browser and clear site data specifically for 192.168.2.2: in Chrome, go to Settings → Privacy and security → Cookies and other site data → See all cookies → search “192.168.2.2” → delete all results.
Fix: Open an incognito or private window in your browser (Ctrl+Shift+N in Chrome, Cmd+Shift+N on Mac) and navigate to http://192.168.2.2 from there. Incognito windows don’t carry over existing cookies, giving you a clean session. If that works, go back to your regular browser and clear site data specifically for 192.168.2.2: in Chrome, go to Settings → Privacy and security → Cookies and other site data → See all cookies → search “192.168.2.2” → delete all results.
Factory Reset Guide
If you’re locked out completely or the device has gotten into a bad state, a factory reset returns it to factory defaults.
Back up your settings first — if you can still get into the admin panel, look for Administration → Backup, System → Export, or Utilities → Save Configuration. Download the settings file. Also write down your ISP login credentials (PPPoE username and password) if your router uses them — your ISP can resupply these if needed.
What gets erased: Everything you’ve configured. Wi-Fi name (SSID), Wi-Fi password, admin password, port forwarding rules, static IP assignments, parental controls, guest network settings, and any custom DNS. You start completely fresh.
How to physically reset:
- Make sure the device is powered on — the power indicator should be lit.
- Find the Reset pinhole on the back or bottom. It’s usually labeled “Reset” or “RST.” Grab a straightened paperclip, a SIM ejector pin, or a toothpick.
- Press and hold for the appropriate duration:
- Belkin routers: hold for 10 seconds until all LEDs flash and the unit reboots
- SMC Barricade models: hold for 15–20 seconds until the power LED blinks rapidly
- Cisco SOHO models: hold for 10–15 seconds until the power light flashes
- Linksys: hold for 10–15 seconds until the power light blinks amber
- D-Link: hold for 10 seconds until the status LED changes color
- Generic / unknown: hold for 20–30 seconds to be safe
- Release and wait 2–3 minutes for the full reboot cycle to complete.
After the reset, use the factory default credentials from the label on the device or the table above to log back in.
What to Do After You Log In
Getting through the login screen is step one. Here’s what’s actually worth doing once you’re in.
Change Your Admin Password
This is non-negotiable. Belkin’s blank-by-default admin password means anyone on your Wi-Fi network can walk straight into your router settings with zero effort. Fix that immediately.
- Look for Administration, System Settings, or Management in the main menu.
- Find Admin Password, Router Password, or Change Login Password.
- Enter your current password (or leave blank if it’s currently empty).
- Enter a new password — at least 12 characters, mixing letters, numbers, and symbols. Store it somewhere safe. A password manager is ideal.
- Save and apply. The page will likely reload to a login prompt — sign back in with your new password to confirm it saved correctly.
Want to know what actually makes a password strong? Check out how to create a strong Wi-Fi password — the same principles apply to any password, including this one.
Change Your Wi-Fi Password
Go to Wireless Settings or Wi-Fi Settings. Find the Password, Passphrase, or Pre-Shared Key (PSK) field. Change it to something strong and memorable. Every device on your network will need to reconnect with the new password once you save — make a mental note of which devices that affects before you hit apply.
Set Your Security Mode to WPA2 or WPA3
In Wireless Settings, look for Security Mode, Authentication, or Encryption Type. Set it to WPA2-PSK (AES) at minimum. If your router offers WPA3 or WPA2/WPA3 mixed, choose that. Older Belkin and SMC models may only offer WPA2 — that’s fine, but avoid WEP and original WPA because they rely on broken protocols. If either of those is currently active, changing it is urgent.
Review Connected Devices
Under DHCP Client List, My Network, Attached Devices, or Connected Devices, you’ll see a list of everything currently on your network — each with an IP address, MAC address, and sometimes a device name. Scan through it. Anything you don’t recognize could be a neighbor who got your Wi-Fi password at some point, or just a device you forgot was connected (smart TVs, old tablets, and IoT gadgets are common surprises). Most admin panels let you block individual devices by MAC address directly from this screen. Understanding what is a MAC address helps make sense of what you’re looking at.
Enable a Guest Network
If your router supports it — look under Wireless or Guest Access — setting up a guest network is one of the simplest, highest-value security improvements you can make. Guests get internet access; they don’t get access to your printers, file shares, smart home devices, or anything else on your main network. Set a simple password for it and leave it on permanently. It’s genuinely one of those things I set up on day one and never think about again.
Firmware Updates and Port Forwarding
Check for firmware updates under Administration → Firmware, System → Software Update, or Utilities → Firmware Update. Older Belkin and SMC models often require you to download the firmware file from the manufacturer’s website and upload it manually through this page. Check every six months.
If you need to run a home server, game with open NAT, access a security camera remotely, or use peer-to-peer applications efficiently, look into port forwarding under Firewall, NAT, or Virtual Servers in your advanced settings. How port forwarding works is worth reading before you start — it’s simple once you understand the concept.
Common Misspellings of 192.168.2.2
Typing errors are one of the most common reasons the login page won’t load. If you searched any of these, you were looking for 192.168.2.2:
192.168.2.2.
192.168.22
192.168.2.l2
192.168.l.2.2
192.168.2.22
http//192.168.2.2
www.192.168.2.2
192.168.2.2/
https://192.168.2.2
192.168.2.0
Which Brands and ISPs Use 192.168.2.2?
Devices that use 192.168.2.2 as their admin gateway:
- Belkin F5D-series routers (select older models): A subset of older Belkin units ship with 192.168.2.2 as the default gateway rather than the more common 192.168.2.1. Check your device label to confirm which it is.
- SMC Barricade (specific firmware versions): Some SMC units default to .2.2 depending on when they were manufactured and what firmware revision they shipped with.
- Secondary / cascaded routers: In a double-NAT setup — where you plug a second router into a primary one — the secondary device’s admin panel often shows up at .2.2 if the primary router already uses .2.1.
- Certain IP cameras and NVRs: Some surveillance equipment and network-attached devices use 192.168.2.2 as their default setup address.
Brands where 192.168.2.2 might appear in specific configurations:
- Apple AirPort / Time Capsule (in bridge or relay mode behind a Belkin router)
- Cisco small business routers (select models with non-standard defaults)
- Huawei (some HG-series models depending on ISP provisioning)
If you’re using a standard ISP-supplied router from the list above and landed on this page, check that table for the address you actually need. Run ipconfig on Windows or check your Wi-Fi settings on iPhone to confirm your correct Default Gateway.
FAQ
What’s the difference between my Wi-Fi password and my router admin password?
These are two completely separate things that do completely different jobs. Your Wi-Fi password is what you type on a phone or laptop to join your wireless network. Your router admin password is what you enter at 192.168.2.2 to access the settings panel and configure the device. On Belkin routers especially, users can set a strong Wi-Fi password while leaving the admin password blank from the factory. You need to secure both independently.
Is 192.168.2.2 the same as 192.168.2.1?
No — they’re different addresses that typically mean different things. On a standard Belkin or SMC network, 192.168.2.1 is the router’s admin gateway and 192.168.2.2 is the first IP address the router hands out to a connected device via DHCP. However, certain Belkin and SMC models reverse this or use .2.2 as their own admin address. Always check your Default Gateway to know which is your router.
Can anyone outside my home access 192.168.2.2?
No. Private IP addresses like 192.168.2.2 only exist on your local network and are completely unreachable from the public internet. The only way someone could access this address is if they were physically connected to your network — either on your Wi-Fi or plugged in with a cable. That’s exactly why changing your Wi-Fi password and admin password matters.
Can I change 192.168.2.2 to a different IP address?
Yes, from within the admin panel. Go to LAN Settings or Network Settings and look for the router’s IP address field. You can set it to any valid private address — something like 192.168.2.254 or 192.168.10.1. Write down the new address before saving, because once it changes, the old URL won’t work and you’ll need to use the new one to get back in.
Conclusion
Whether you’re on a Belkin router with a .2.2 default, a cascaded setup where a secondary device landed on this address, or something else entirely, getting into 192.168.2.2 follows the same straightforward process. The bigger question is always what you do after you get in — and the admin password and security mode settings are where to start. If you hit a snag specific to your router model or setup, drop a comment below and I’ll do my best to help you work through it.