Here’s something I want to clear up before you spend 20 minutes troubleshooting the wrong thing: 192.168.1.10 is not a typical default gateway address. Most routers in the 192.168.1.x subnet use 192.168.1.1 as their admin panel address — not .10. So if you typed 192.168.1.10 into your browser and got nothing, that’s probably why. That said, there are real scenarios where a device genuinely uses 192.168.1.10 as its admin IP — and this guide covers all of them. We’ll help you figure out which situation you’re in, walk you through logging in on PC and mobile, fix the five most common problems, and show you what to change once you’re inside.
192.168.1.10 Router Login – Admin Page
What Is 192.168.1.10?
192.168.1.10 is a private IP address in the 192.168.1.x subnet — part of the RFC 1918 private address ranges that are reserved strictly for internal networks and are never routable on the public internet. The address only works when you’re connected to the same local network as the device it belongs to.
Most consumer routers set their gateway (admin panel) at 192.168.1.1. The address 192.168.1.10 sits ten steps higher in the host range, which means it’s much more likely to be one of the following:
- A DHCP-assigned address — your router handed 192.168.1.10 to one of your connected devices (a laptop, phone, printer) dynamically. In this case, the device at .10 is not a router — it’s just a client on your network, and the admin panel is still at 192.168.1.1.
- A static IP on a secondary device — network equipment like Wi-Fi access points, managed switches, IP cameras, or network-attached storage (NAS) boxes are often manually assigned static IPs like 192.168.1.10 so they’re always reachable at the same address.
- A manually reconfigured router — someone changed the router’s LAN IP from 192.168.1.1 to 192.168.1.10, often to avoid IP conflicts or organize a more complex network.
- A specific device model default — some access points, range extenders, and managed switches ship with .10-range defaults out of the box.
The quickest way to confirm: check your Default Gateway (instructions in the troubleshooting section). If it shows 192.168.1.10, you’re in the right place. If it shows 192.168.1.1, that’s your router admin address instead.
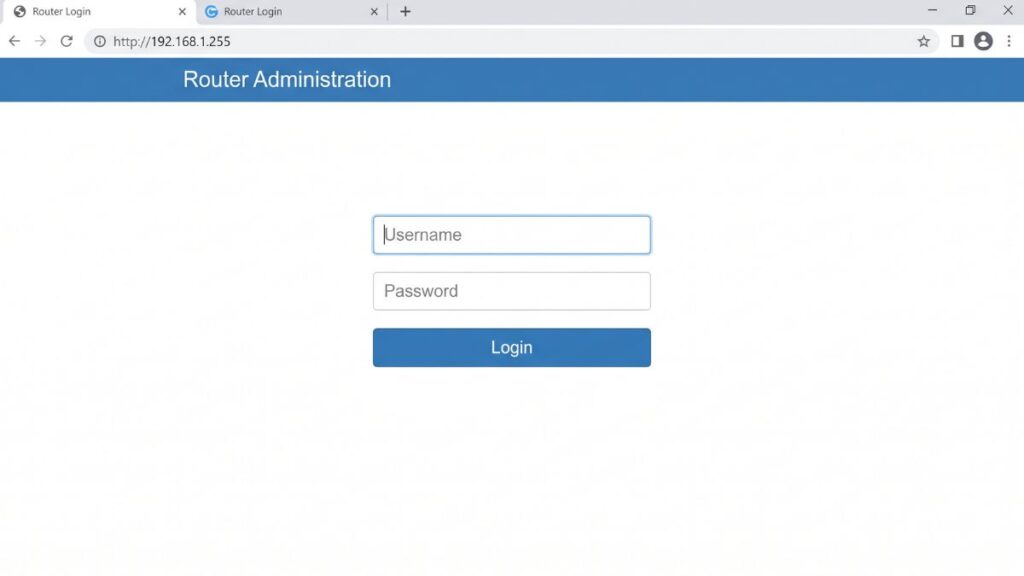
Default Username and Password for 192.168.1.10
If 192.168.1.10 is confirmed as the admin address for your device, credentials depend entirely on brand and model. Use the table as a starting point, but always check the sticker on the bottom or back of the device first — manufacturers sometimes print unique login combinations per unit.
| Brand | Default Username | Default Password |
|---|---|---|
| TP-Link | admin | admin |
| Asus | admin | admin |
| Netgear | admin | password |
| D-Link | Admin | (blank) |
| Linksys | admin | admin |
| Cisco | cisco | cisco |
| Tenda | admin | admin |
| Belkin | admin | (blank) |
| Ubiquiti (UniFi) | ubnt | ubnt |
| MikroTik | admin | (blank) |
| Huawei | admin | admin |
| TP-Link EAP (Access Points) | admin | admin |
A note on “blank” passwords: For D-Link, Belkin, and MikroTik devices, a blank password means you leave the password field completely empty — don’t type the word “blank” or “none.” Just hit Login with the password field empty.
How to Log Into 192.168.1.10 — PC Steps
- Connect your computer to the same network as the device — either by Wi-Fi or an Ethernet cable. If you’re accessing an access point, switch, or camera, a wired connection from your PC to the network is more reliable.
- Open any web browser: Chrome, Firefox, Edge, and Safari all work.
⚠️ Address bar, not search bar. Type 192.168.1.10 into the URL bar at the very top of the browser — the bar where you’d normally type a website address like google.com. If you type it into a Google search box, it will search Google and nothing will happen. This is the single most common mistake people make.
- Press Enter. The device’s admin login page should load in a few seconds.
- Enter your username and password from the table above. Try
admin/adminfirst. - Click Login or Sign In.
- You’re in. The interface varies widely by device type — a router dashboard looks very different from a managed switch or access point interface — but the core settings are always accessible from the main navigation menu.
Nothing loaded? Check the troubleshooting section. There’s a real chance .10 isn’t your device’s admin IP.
How to Log Into 192.168.1.10 — Mobile Steps
iPhone (Safari or Chrome)
- Open Settings → Wi-Fi and make sure you’re on your home network, not cellular.
- Tap the ⓘ info icon next to your network name.
- Scroll to the Router field under IPv4 Address. This shows your gateway IP. If it reads 192.168.1.10, proceed. If it shows 192.168.1.1 or another address, use that address for your router admin.
- Open Safari, tap the address bar at the top, and type
192.168.1.10. Tap Go. - The login page should appear. Enter your credentials and tap Login.
💡 iPhone note: Safari sometimes tries to search an IP address instead of navigating to it. If that happens, make sure you’re tapping the top address bar (not an inline search box), then type the IP again.
Android (Chrome or Firefox)
- Go to Settings → Network & Internet → Wi-Fi (path varies by Android version and brand).
- Tap your connected network, then tap Advanced or the edit/pencil icon.
- Look for Gateway — note the address shown there.
- Open Chrome, tap the address bar, type
192.168.1.10, and press Enter. - Log in with your credentials on the page that appears.
Samsung users: Settings → Connections → Wi-Fi → tap your network name → tap the gear or info icon → View More to find the Gateway field.
💡 Android tip: If your phone keeps dropping the router page or redirecting you, it’s detecting that the local network has limited internet. Go to Wi-Fi settings, find your network, and disable Switch to mobile data or Adaptive Wi-Fi while you make changes.
Troubleshooting — 5 Problems and How to Fix Them
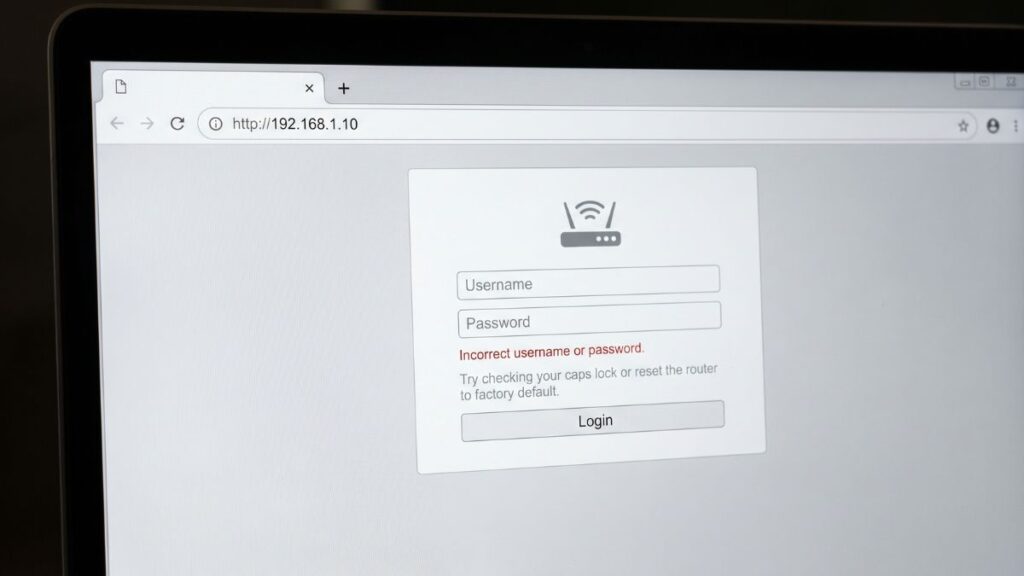
If you’re trying to access 192.168.1.10 and the page won’t load or behaves strangely, you’re not alone. Below are the most common issues and how to fix them quickly.
1. Nothing loads — the page times out or shows “This site can’t be reached”
Cause: Either your device isn’t on the same network as the target device, or 192.168.1.10 isn’t the admin IP after all.
Fix: Start by verifying your gateway. On Windows: press Win + R, type cmd, press Enter, then type ipconfig. Look for Default Gateway under your active adapter. On Mac: System Settings → Network → select your connection → Details → TCP/IP tab. On iPhone: Settings → Wi-Fi → tap your network → Router field. Using Android: see the mobile steps above.
If the gateway is 192.168.1.1, that’s your router admin address — not 192.168.1.10. If you’re looking for a secondary device (access point, camera), try how to find your router’s IP address and also check your router’s DHCP client list for what device has been assigned 192.168.1.10.
2. Login page loads but your credentials are rejected
Cause: Password was changed previously, ISP set custom defaults, or the device uses non‑standard factory credentials.
Fix: Check the sticker on the bottom or back of the device — this is almost always more accurate than any online list. If there’s no sticker or the credentials still don’t work, try a factory reset (see the section below). Don’t panic — this happens to everyone at some point, and the reset process is straightforward.
3. Page loads broken — layout is missing or buttons don’t work
Cause: A browser extension (ad blocker, privacy shield, script blocker) is interfering with the router’s local admin page.
Fix: Open an Incognito or Private window (Ctrl+Shift+N in Chrome, Ctrl+Shift+P in Firefox) and try again. Incognito bypasses extensions and cache in one shot. If the page loads correctly there, a browser extension is your culprit — disable them one by one to find out which one.
4. You get in but keep getting logged out during changes
Cause: Session timeout is set very short on the device, or the device is rebooting itself due to a setting conflict.
Fix: Use a wired Ethernet connection rather than Wi‑Fi for configuration — it’s much more stable. Also, click Save after each individual change rather than batching multiple changes before saving. Some older devices have very short admin session timeouts (2–5 minutes) that will log you out mid‑session.
5. Browser shows a “Not Secure” or privacy error
Cause: The device admin panel uses plain HTTP rather than HTTPS, which modern browsers flag automatically on any page — even local ones.
Fix: Completely normal behavior for router and network device admin pages. The connection is on your local network, so there’s no external security risk. Click Advanced → Proceed to 192.168.1.10 (exact wording varies by browser). Some higher‑end routers and access points let you enable HTTPS access in Security settings if you prefer to eliminate the warning permanently.
Factory Reset Guide
A factory reset wipes all custom configuration — Wi-Fi name, passwords, static IP assignments, port forwarding rules, custom DNS — and restores the device to factory state.
Before you reset: If you can still access the admin panel, screenshot or note your current settings. Especially write down your Wi-Fi name, password, and any static IP or port forwarding rules. Re-entering them from memory is painful.
How to reset:
- Find the Reset button — usually a small pinhole on the back or bottom of the device, labeled “Reset” or “Restore.”
- With the device powered on, press and hold the button using a paperclip or pin.
- Hold for the time your brand requires:
- TP-Link routers: 10 seconds (lights flash on release)
- TP-Link EAP access points: 5 seconds (LED flashes amber)
- Netgear: 30 seconds (amber power LED lights steady)
- Asus: 5–10 seconds (power LED blinks)
- D-Link: 10 seconds
- Linksys: 30 seconds
- Ubiquiti UniFi: 10 seconds (white LED flashes, then goes dark)
- MikroTik: Hold until LED flashes, then release
- Cisco: 30 seconds
- Release the button. The device will reboot — wait 1–2 minutes for lights to stabilize.
- Reconnect to the network (you may need to connect to the default Wi-Fi network using factory credentials printed on the device label).
- Log in using factory default credentials.
What gets wiped: All custom settings including SSID, passwords, LAN IP, DHCP settings, port forwarding, VPN config, DNS overrides, and firmware customizations. ISP-side settings are stored separately and aren’t affected by a device-side reset.
What to Do After You Log In
Here’s what actually matters once you’re inside the admin panel.
1. Change the Admin Password
Default credentials like admin/admin are publicly documented. Anyone who joins your network — a guest, a neighbor with a weak Wi-Fi signal reach — could theoretically log into an unprotected admin panel and change your settings. Fix this first.
Steps (most routers and network devices):
- Navigate to Administration, System, Management, or Advanced Settings.
- Find Admin Password, Login Password, or Router Password.
- Enter the current password, then type a new one.
- Per NIST password guidelines, use a passphrase of 15+ characters — something like
coffee-router-tuesday-lampis both strong and memorable. - Save. You’ll be logged out and need to log back in with the new password.
2. Change Your Wi-Fi Password
- Go to Wireless or Wi-Fi Settings.
- Find Password, Passphrase, WPA Key, or Network Key.
- Set a new password. All connected devices will need to reconnect with the new credentials.
- If your router is dual-band, update both the 2.4 GHz and 5 GHz networks.
- Save.
3. Set WPA2 or WPA3 Security Mode
In Wireless settings, look for Security Mode or Encryption.
- WPA3-Personal is the current gold standard — significantly more resistant to dictionary and brute-force attacks than its predecessors. More detail at the WPA3 security standard page from the Wi-Fi Alliance.
- If WPA3 isn’t available, WPA2-PSK (AES) is the correct fallback.
- Avoid WEP and WPA (TKIP) — both are compromised and should never be used on a network you care about.
4. Check Connected Devices
Go to Connected Devices, DHCP Client List, or Attached Devices. This shows every device currently on your network: name, IP address, and what is a MAC address identifier.
Scroll through and make sure you recognize everything. Smart TVs, phones, tablets, printers, streaming sticks, smart home hubs — they all show up. Anything you don’t recognize is worth investigating. A useful deep-dive: how to see who’s on your network.
5. Set Up a Guest Network
If your device supports it, a guest network is one of the best QoL network improvements you can make. It lets visitors get online without giving them access to your main network devices, and it keeps smart home gadgets segmented from your computers and phones.
How to set up a guest network walks through the process on most major router brands. Give the guest network a simple, share-friendly name — ours is just “Guest” — since the whole point is that people will need to type it.
6. Check for Firmware Updates
Find Administration → Firmware Update or Advanced → Firmware in the menu. Manufacturers push firmware updates regularly to patch security vulnerabilities and fix bugs. If there’s a pending update, install it. Many modern routers support automatic firmware updates — if yours does, turn that on. It’s one of the best set-and-forget security moves available.
7. Review Port Forwarding Rules (If Applicable)
If you’re running game servers, a home NAS, a camera system, or any service that needs to be reachable from outside your home, check your port forwarding rules under Advanced → Port Forwarding or NAT → Virtual Server. Remove any rules you don’t recognize or no longer use — open ports are potential entry points. Learn more about how port forwarding works if you’re setting this up for the first time.
Common Misspellings of 192.168.1.10
These are the variants that will fail and why:
192.168.1.1.0
192.168.1.l0
192.168.l.10
192.168.1,10
192.168 1.10
http//192.168.1.10
192.168.01.10
192.168.1.010
Correct address:
192.168.1.10
— Double-check each number, watch for letter-O vs zero and letter-L vs number-1 — those are the most frequent typos.
Which Brands and Devices Use 192.168.1.10?
Unlike gateway addresses such as 192.168.1.1, the address 192.168.1.10 isn’t a widely published manufacturer default for consumer routers. Here’s the real breakdown:
Devices where 192.168.1.10 may be the admin address:
- TP-Link EAP access points — some models in managed (non-controller) mode use IPs in the .10–.20 range as their default management address before being adopted by Omada Controller
- Certain IP cameras and NVRs — brands like Hikvision, Dahua, and Amcrest commonly ship cameras with static IPs in the 192.168.1.x range; 192.168.1.10 is a frequently used default
- Managed switches — some entry-level managed switches (TP-Link TL-SG108E, for example) use .10-range addresses for their management interface
- Secondary/cascaded routers — when a second router is added to a network, an admin may assign it 192.168.1.10 to keep it on a predictable, memorable address
What the major US ISPs default to:
- Xfinity/Comcast: 10.0.0.1
- AT&T: 192.168.1.254
- Verizon FiOS: 192.168.1.1
- Spectrum: 192.168.0.1
- T-Mobile Home Internet: 192.168.12.1
None of the major US ISPs use 192.168.1.10 as a default. If you’re on one of these providers and landed here, check your Default Gateway using the ipconfig method — it’ll point you to the right address.
Frequently Asked Questions
What’s the difference between my Wi-Fi password and my router admin password?
They’re completely separate. Your Wi-Fi password is what you type on a phone or laptop to join the network. Your router admin password is what gets you into the settings page at 192.168.1.10 (or whatever your gateway is). Changing one does not change the other. This is one of the most commonly confused things in home networking.
Is 192.168.1.10 the same as 192.168.1.1?
No. These are different IP addresses that can belong to different devices on the same network. 192.168.1.1 is the most common gateway address for routers in the 192.168.1.x subnet. 192.168.1.10 is a host address — it could belong to a router that’s been reconfigured, a secondary network device, or just a laptop that got assigned that IP by DHCP.
My Default Gateway shows 192.168.1.1 but I was told to use 192.168.1.10. Which is right?
Your Default Gateway is your primary router’s admin address. If it shows 192.168.1.1, use that to access your router settings. The device at 192.168.1.10 is likely a secondary device — an access point, camera, NAS, or switch — with its own separate admin interface.
I get a “Not Secure” warning. Is something wrong?
Nothing is wrong. Router and network device admin pages typically use plain HTTP, not HTTPS, which triggers a browser warning even on local addresses. Click Advanced and proceed — the connection stays entirely within your local network.
I reset my device and now I can’t connect to Wi-Fi.
After a factory reset, the Wi-Fi name and password revert to the factory defaults printed on the sticker on your device. Connect to that default network, then log into the admin page to set up your preferred network name and password again.